
Layer Direction Is a Design Decision
Posted by SFL Designs on Nov 10th 2026
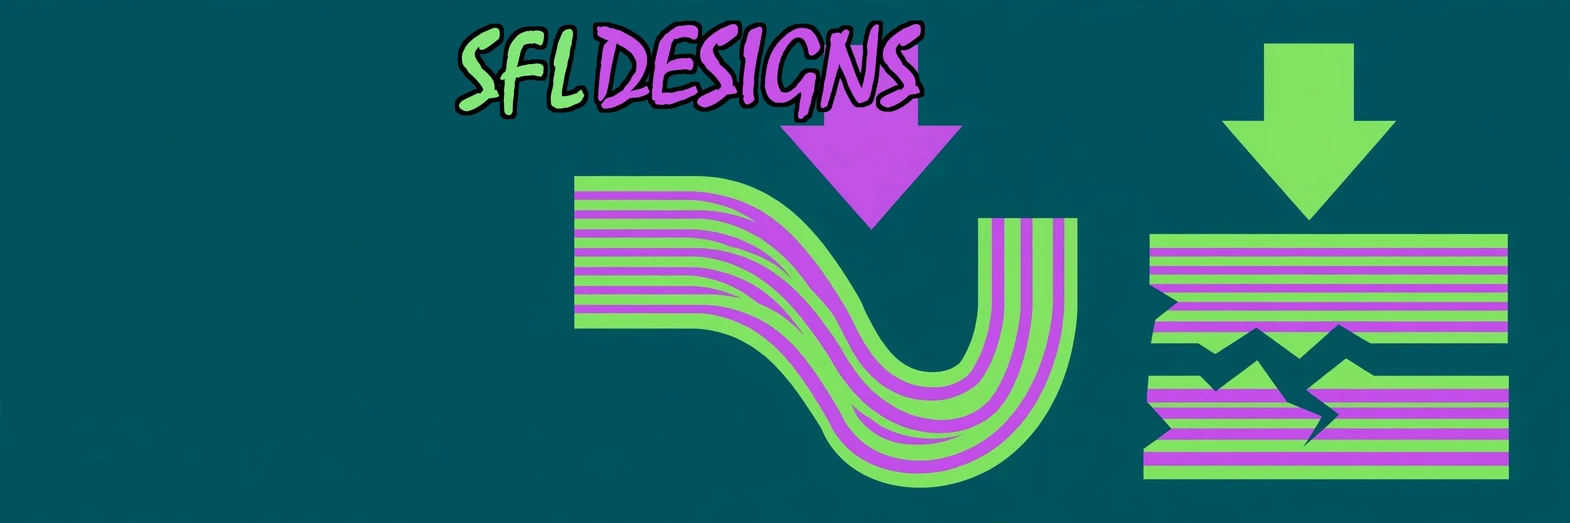
A 3D printed part does not have one strength. It has two (a strong direction and a weak one), and every time you click “print,” you are choosing which one faces the load. Most people make that choice by accident, based on whatever orientation looked tidy on the build plate. Then the part snaps along a layer line and gets blamed on the filament.
Strong along, weaker across
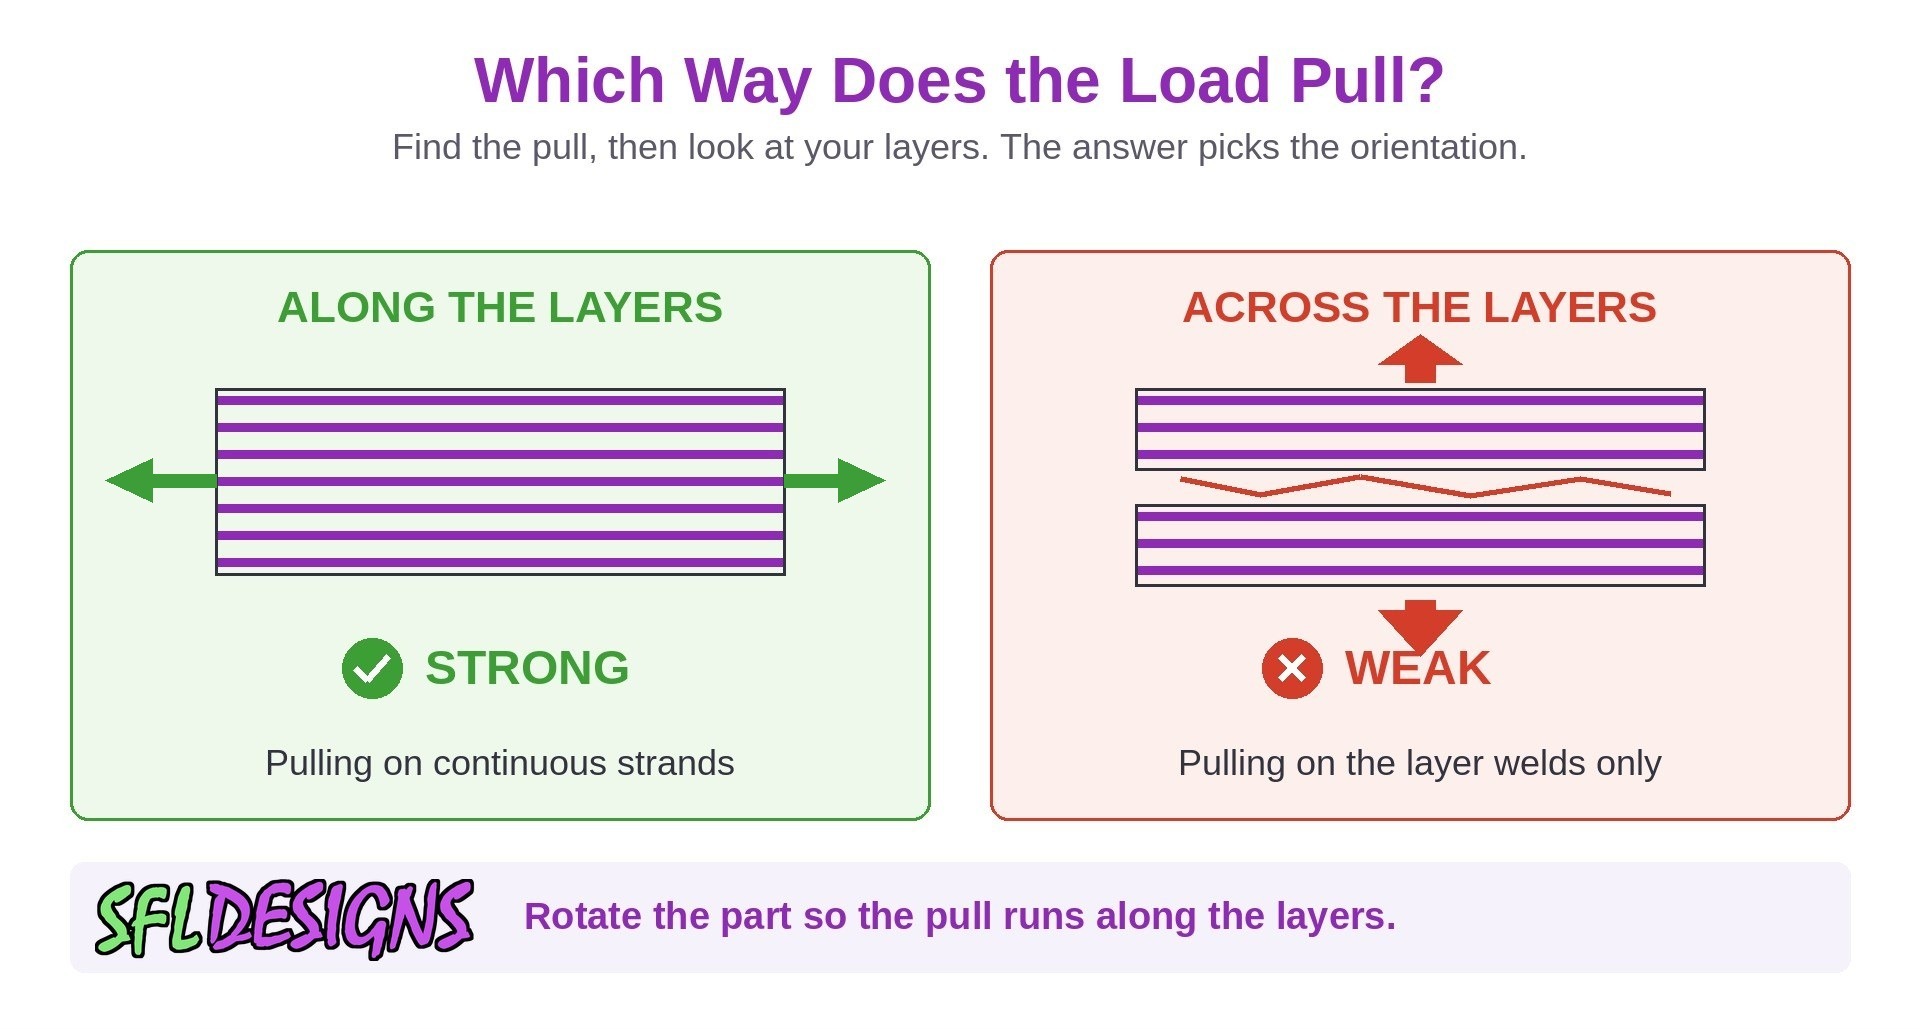
A fused filament print is a stack of plastic lines welded together, layer by layer. Pull along those lines and you are pulling on continuous strands of plastic, genuinely strong. Pull across the layers, trying to peel them apart, and you are only pulling on the welds between layers. Those welds are good, but they are not the same strength as the strands themselves.
Engineers call this being anisotropic, a fifty-cent word that just means “the strength depends on the direction.” Wood does the same thing; it splits along the grain far easier than across it. Your printed part has grain too. It is the layer direction, and it is printed into the part whether you planned it or not.
Orientation decides where the weakness lives
The layers always stack in the build direction, straight up from the plate. So the orientation you choose on the plate decides which faces of the part end up with layer lines running through them, and which loads end up trying to peel layers apart.
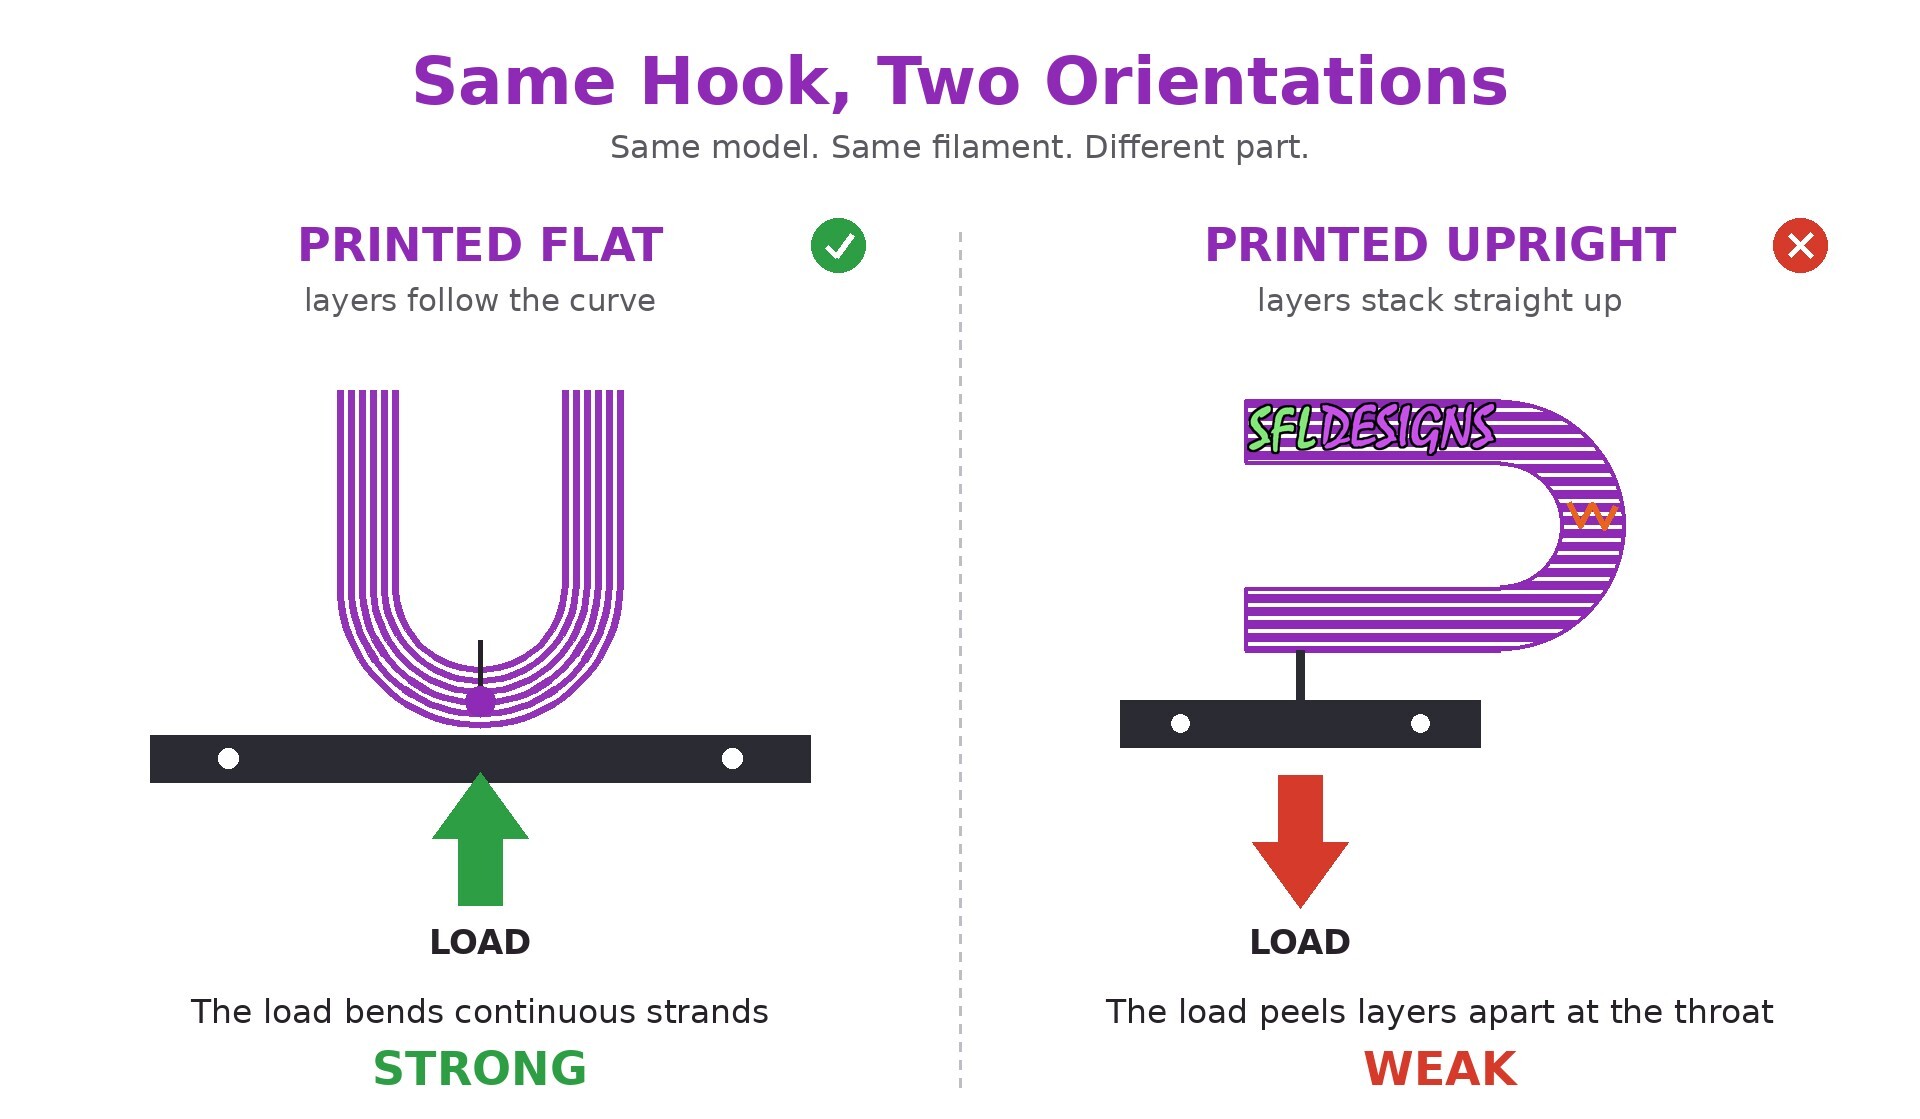
- A hook printed flat, with layers running along its curve, bends around continuous strands. Print the same hook upright and the load at the throat pulls straight across layer lines, the exact direction with the least to give.
- A bracket with a mounting ear: if the screw’s pull tries to unzip layers from the ear, orientation (or the ear’s shape) has to change, not the infill.
- A clip that flexes: it wants its spring arm bending along the layers, so the flex works the strands, not the welds.
Same model, same filament, same settings. Different orientation, different part.
Designing around the weak direction
Once you see orientation as a design decision, a few moves become standard practice:
- Put the load along the layers. First choice, always: rotate the part so the main working force runs with the grain, not against the welds.
- Move the stress, not just the part. Sometimes a small geometry change, a thicker throat on the hook, a gusset (a triangular brace) on the bracket, a fillet where the load concentrates, fixes what orientation alone cannot.
- Split the part. Two pieces, each printed in its strong orientation and joined with screws or pins, beat one piece printed at a compromise angle. Strong and printable beats elegant and snapped.
- Add material where layers get peeled. If a load truly has to cross layers somewhere, give that spot more cross-section to spread it over. Welds forgive more when they are not asked to hold everything at one thin line.
Shop note: No infill percentage can out-vote geometry. If the load peels layers, 100% infill just makes a heavier part that fails the same way.
Test in the direction of use
If a part matters, its test should load it the way life will. Print a sample in the intended orientation, mount it the way it will actually mount, and pull, flex, or hang weight the way the real job does. A clip tested by squeezing it sideways on the bench has not been tested. It has been entertained.
And when a part does fail, read the break before you redesign. A failure that splits cleanly along a layer line is the orientation confessing. A failure through the strands themselves is a different story: that one is about material, temperature, or raw cross-section. The break tells you which problem you actually have.
The practical rule
Before you slice anything that has a job to do, ask one question: which way does the load pull, and where are my layers? If the pull runs along the layers, print with confidence. If it peels across them, change the orientation, change the geometry, or split the part (in that order of effort).
Layer direction is not a slicer detail. It is half the structural design, decided in the five seconds before you hit print. Spend those five seconds on purpose.
— Jason, SFL Designs
From our workbench to your display — print it, mount it, light it up.