
Stop Drawing Blue Noodles: Sketch Constraints in Fusion 360
Posted by SFL Designs on Oct 15th 2026
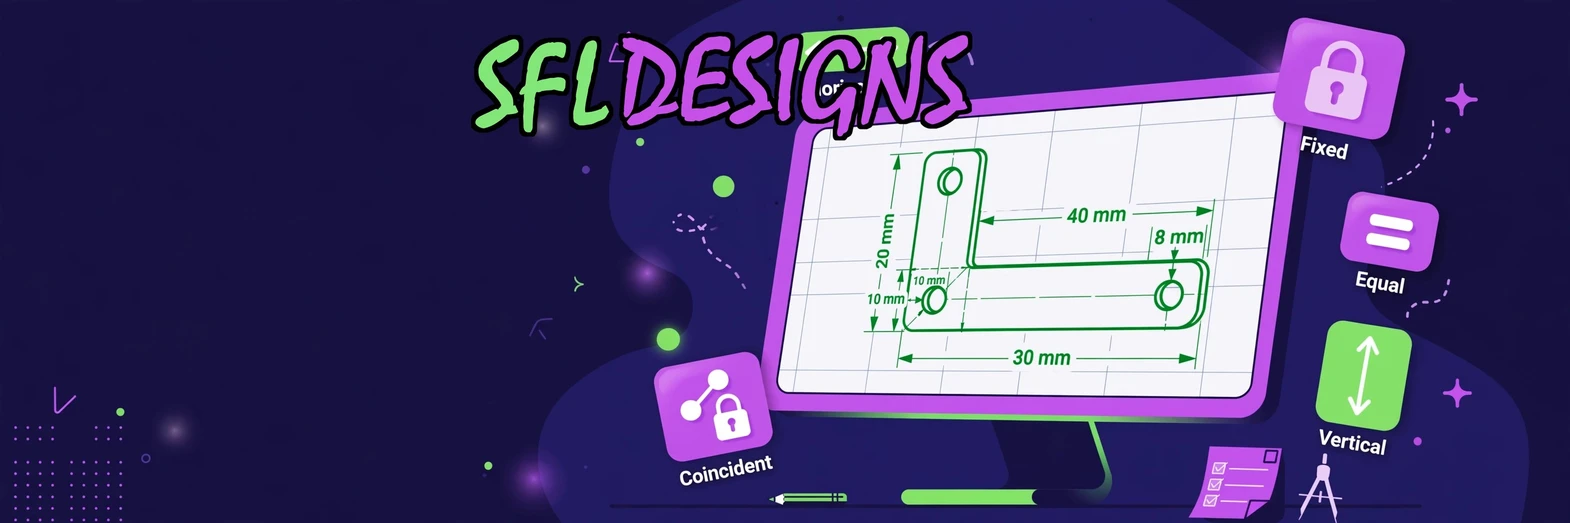
If your Fusion 360 sketch wiggles when you drag it, Fusion is not broken. Your sketch is still negotiating the terms.
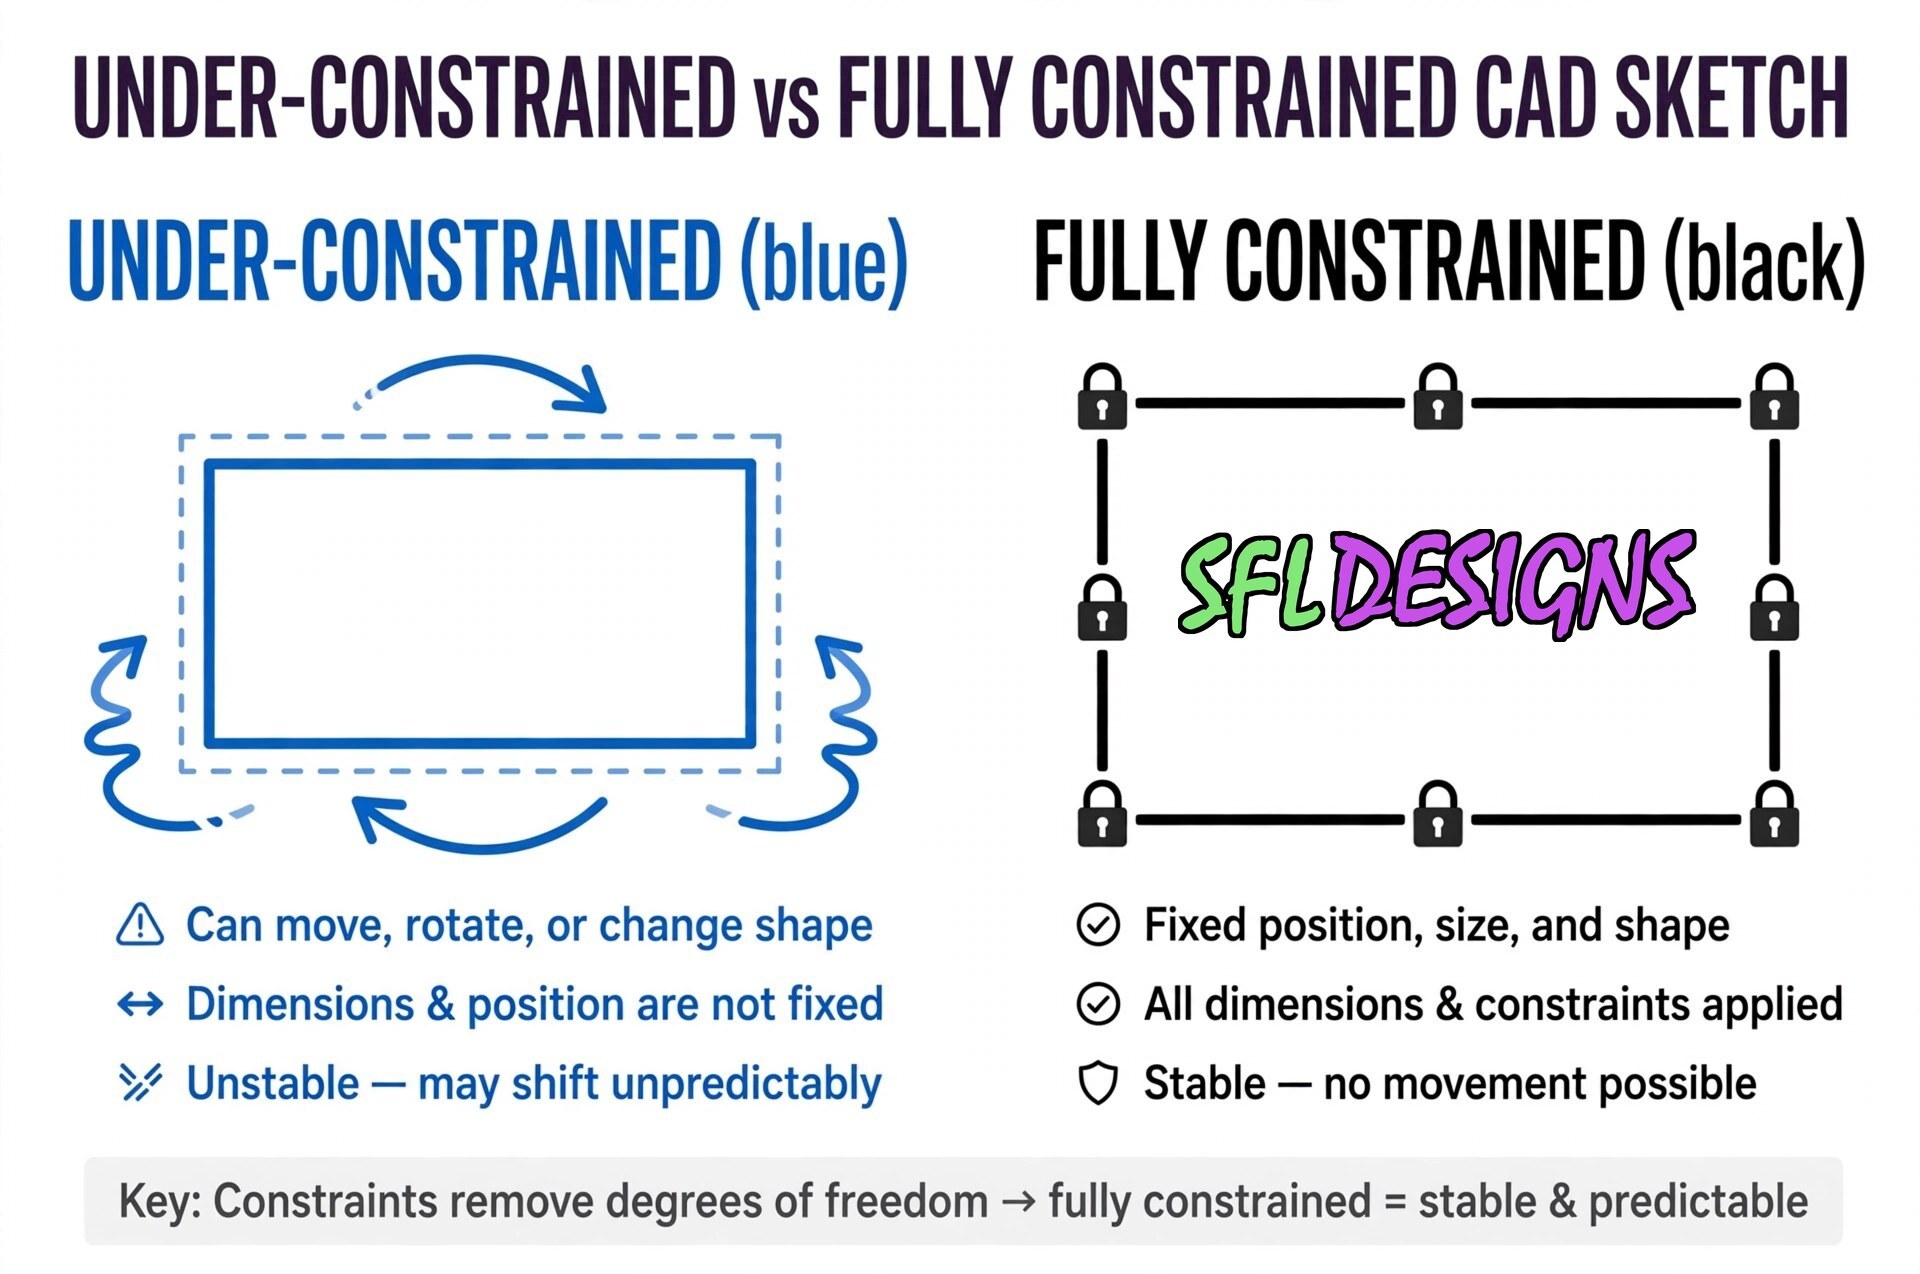
Those blue lines are basically saying, “I know I am a rectangle, but nobody told me where I live.”
Constraints are the rules that settle the argument. A line is horizontal. Two points touch. Two circles share a center. A dimension controls the width. Once the important motion is removed, the geometry becomes stable, and future you stops opening a file that has mysteriously turned into modern art.
A constraint is just a relationship
Open Design, choose Create Sketch, and draw a rectangle. Before you add dimensions, grab a corner and drag it.
The rectangle moves because it still has freedom. Fusion calls that freedom “degrees of freedom,” but the plain-English version is simpler: the sketch can still move, rotate or change size.
Fusion adds some relationships automatically as you draw. A line may become horizontal. Two endpoints may become coincident, which means they occupy the same point. Useful, yes. Complete, not always.
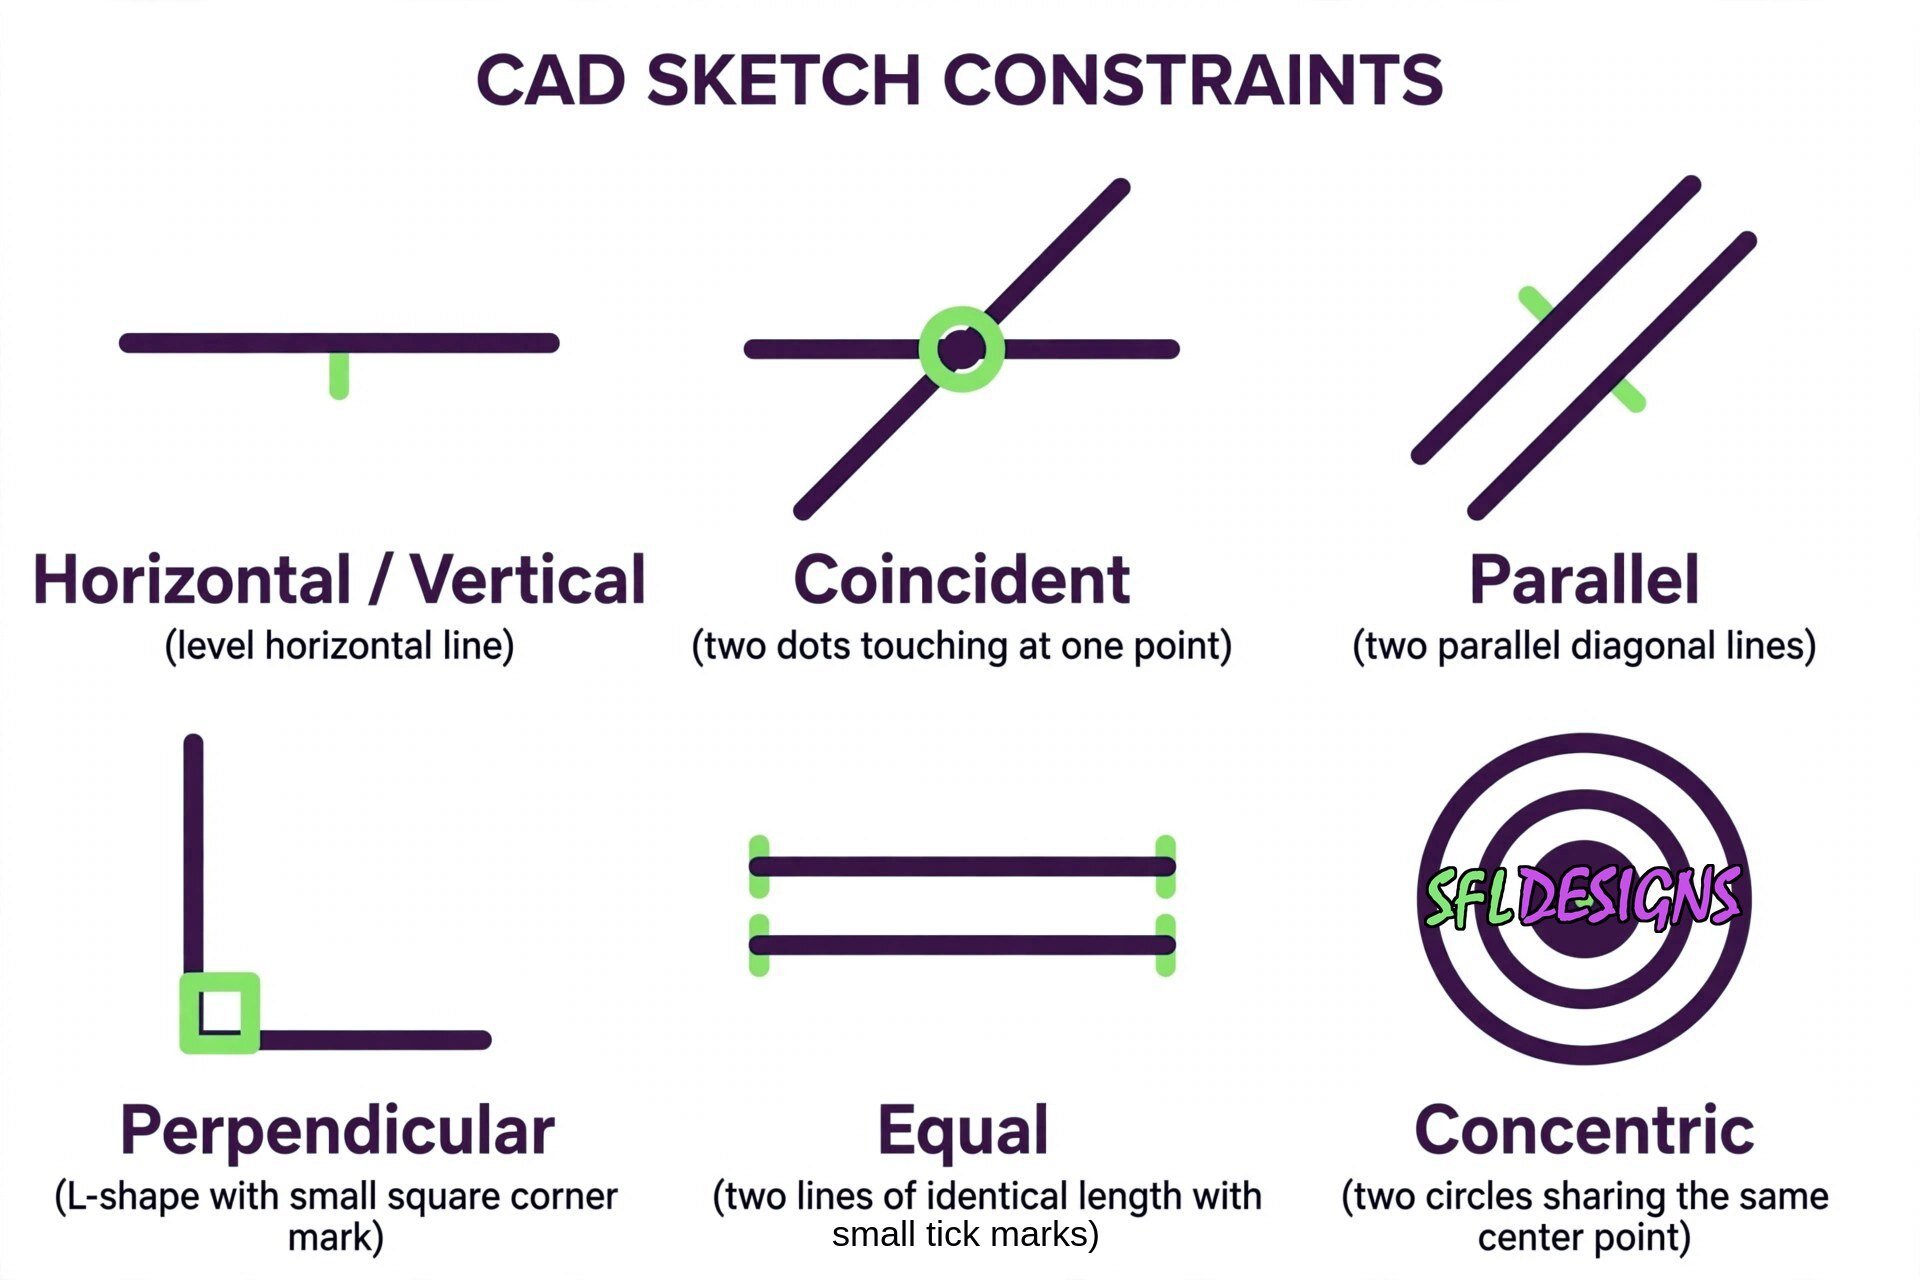
The common constraints in the Sketch toolbar do jobs you already understand:
- Horizontal/Vertical keeps a line level or upright.
- Coincident makes a point touch another point, line or curve.
- Parallel keeps two lines pointed the same direction.
- Perpendicular keeps two lines at 90 degrees.
- Equal makes selected lines the same length or circles the same size.
- Concentric makes arcs or circles share a center.
- Tangent creates a smooth touch between curves or between a line and a curve.
The icons look cryptic for about ten minutes. Hover over them. Fusion tells you what each one does.
Dimensions control size; constraints control behavior
This is the distinction that makes sketching click.
A dimension answers “how much?” A hole is 6 mm. The plate is 80 mm wide. Press D for Sketch Dimension, select the geometry, and enter the value.
A geometric constraint answers “how are these related?” The hole is centered. These lines are parallel. This endpoint stays on that edge.
You usually need both. Dimensions alone can leave geometry free to slide. Constraints alone can preserve a shape while allowing it to grow or shrink.
Shop note: A good sketch does not merely match the current measurement. It preserves the reason the geometry is located there.
Start from something that does not move
Every sketch needs an anchor. The safest anchor is usually the origin (the center point and axes Fusion gives you).
For a centered plate, use a Center Rectangle from the origin. Now the plate can change width and height without wandering away. For a part measured from one edge, make a deliberate corner or center point coincident with the origin.
That one habit prevents a lot of sketches from floating around the screen like a shopping cart with one bad wheel.
Avoid using Fix/UnFix as the answer to everything. Fix freezes geometry in place, which can be useful for imported or reference geometry. But if you freeze half a sketch just to make the blue lines turn black, you have hidden the design logic instead of building it.
Fully constrained is a result, not a contest
In the standard Fusion color scheme, under-constrained sketch geometry appears blue and fully constrained geometry appears black. Your theme may look slightly different, but the idea is the same.
Do not chase black lines by throwing random dimensions at the sketch. Ask what can still move.
Try dragging the blue geometry. Can it slide left? Add its horizontal location. Can it move up? Add its vertical location. Can a line rotate? Add an angle or a horizontal, vertical, parallel or perpendicular relationship. Can a circle grow? Add a diameter.
Fusion is showing you the missing decision.
Build the simple version first
A beginner trap is cramming the entire part into one heroic sketch. Every slot, fillet, hole, logo and decorative curve ends up in the same web. Then one change lights the sketch up like a dashboard at a demolition derby.
Keep the base shape simple. Finish the sketch and Extrude it. Add holes, fillets and repeated features afterward when that makes the timeline easier to understand.
There is no prize for the sketch with the most geometry.
Try this ten-minute exercise
- Create a sketch on the XY plane.
- Draw a center rectangle from the origin.
- Press D and set the width and height.
- Draw one circle above the origin.
- Make the circle center vertical with the origin.
- Dimension the circle diameter and its distance above the origin.
- Drag the geometry and see what can still move.
- When nothing important can wander, finish the sketch and change one dimension. The model should update without changing the relationships you intended.
That is the real purpose of constraints. Not black lines. Not a perfect score. Predictable change.
— Jason, SFL Designs
From our workbench to your display — print it, mount it, light it up.