
Your First Layer Is Talking. Here's How to Read It.
Posted by SFL Designs on Oct 13th 2026
A bad first layer has ruined more perfectly good mornings than an empty coffee pot.
The printer starts. The line drags around like a loose shoelace. One corner lifts. You stop the job, change six slicer settings, clean half the machine, question your life choices—and the next print does exactly the same thing.
Here is the good news: the first layer is not random. It is feedback. Learn to read it and you can fix the actual problem instead of spinning every knob in the control room.
Start with the three basic looks
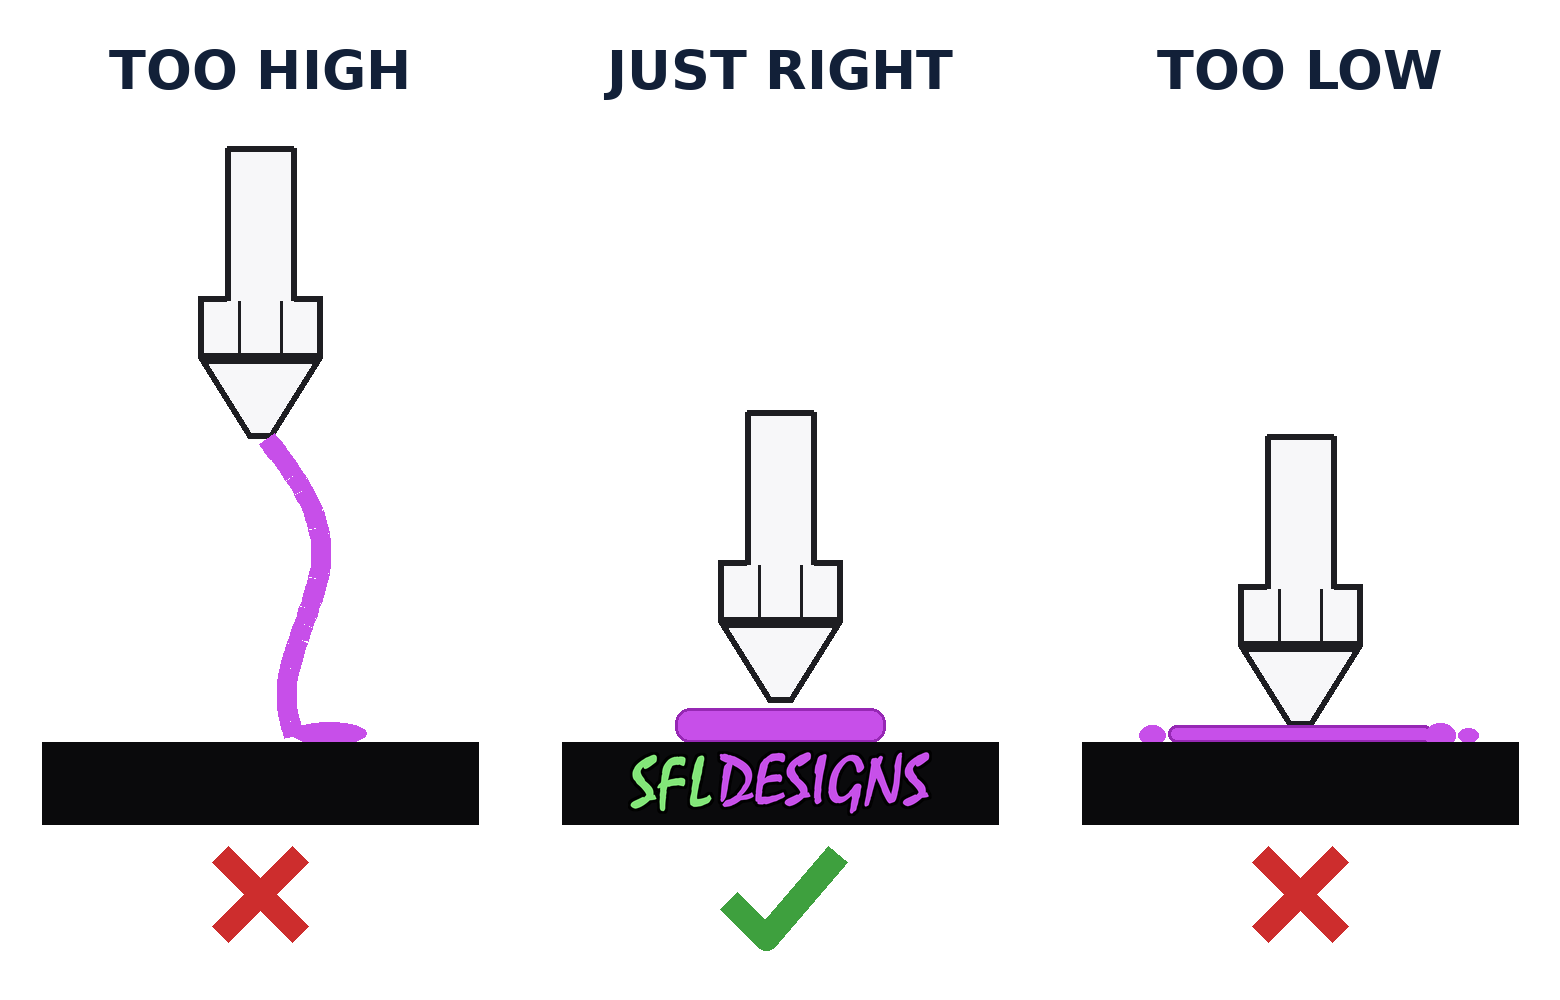
The nozzle-to-bed gap is the distance between the nozzle tip and the print surface. On many printers this is handled automatically, but automatic does not mean magical.
Too high: The plastic lands as round strings instead of slightly flattened lines. Neighboring lines leave gaps. Corners may drag loose because the plastic never got a solid grip.
Too low: The nozzle plows through the plastic. You may see rough ridges, thin or missing sections, or a translucent-looking first layer. The extruder can click because it is trying to push filament into a space that is not there.
About right: Each line is gently flattened and touches the next line without a ridge piled between them. The finished patch acts like one thin sheet, not a bundle of noodles.
Want the picture version? Prusa’s Knowledge Base has the cleanest reference photo of all three states side by side — worth a look before your next print: First Layer Calibration — Prusa Knowledge Base. (Reference photo © Prusa Research; linked, not reproduced.)
Do not copy somebody else’s exact Z-offset number. That number belongs to their printer, nozzle, bed and setup. Judge the result in front of you.
The mistake I see most often in customer photos is an oily bed from fingerprints. My routine starts before the bed: I wash my hands with Dawn dish soap, then wash the bed with it. And while I’m cleaning, I don’t touch my face — that just puts the oil right back on my fingers.
Use the three-check routine
When the first layer is ugly, work in this order. The order matters because later adjustments cannot rescue the earlier problem.
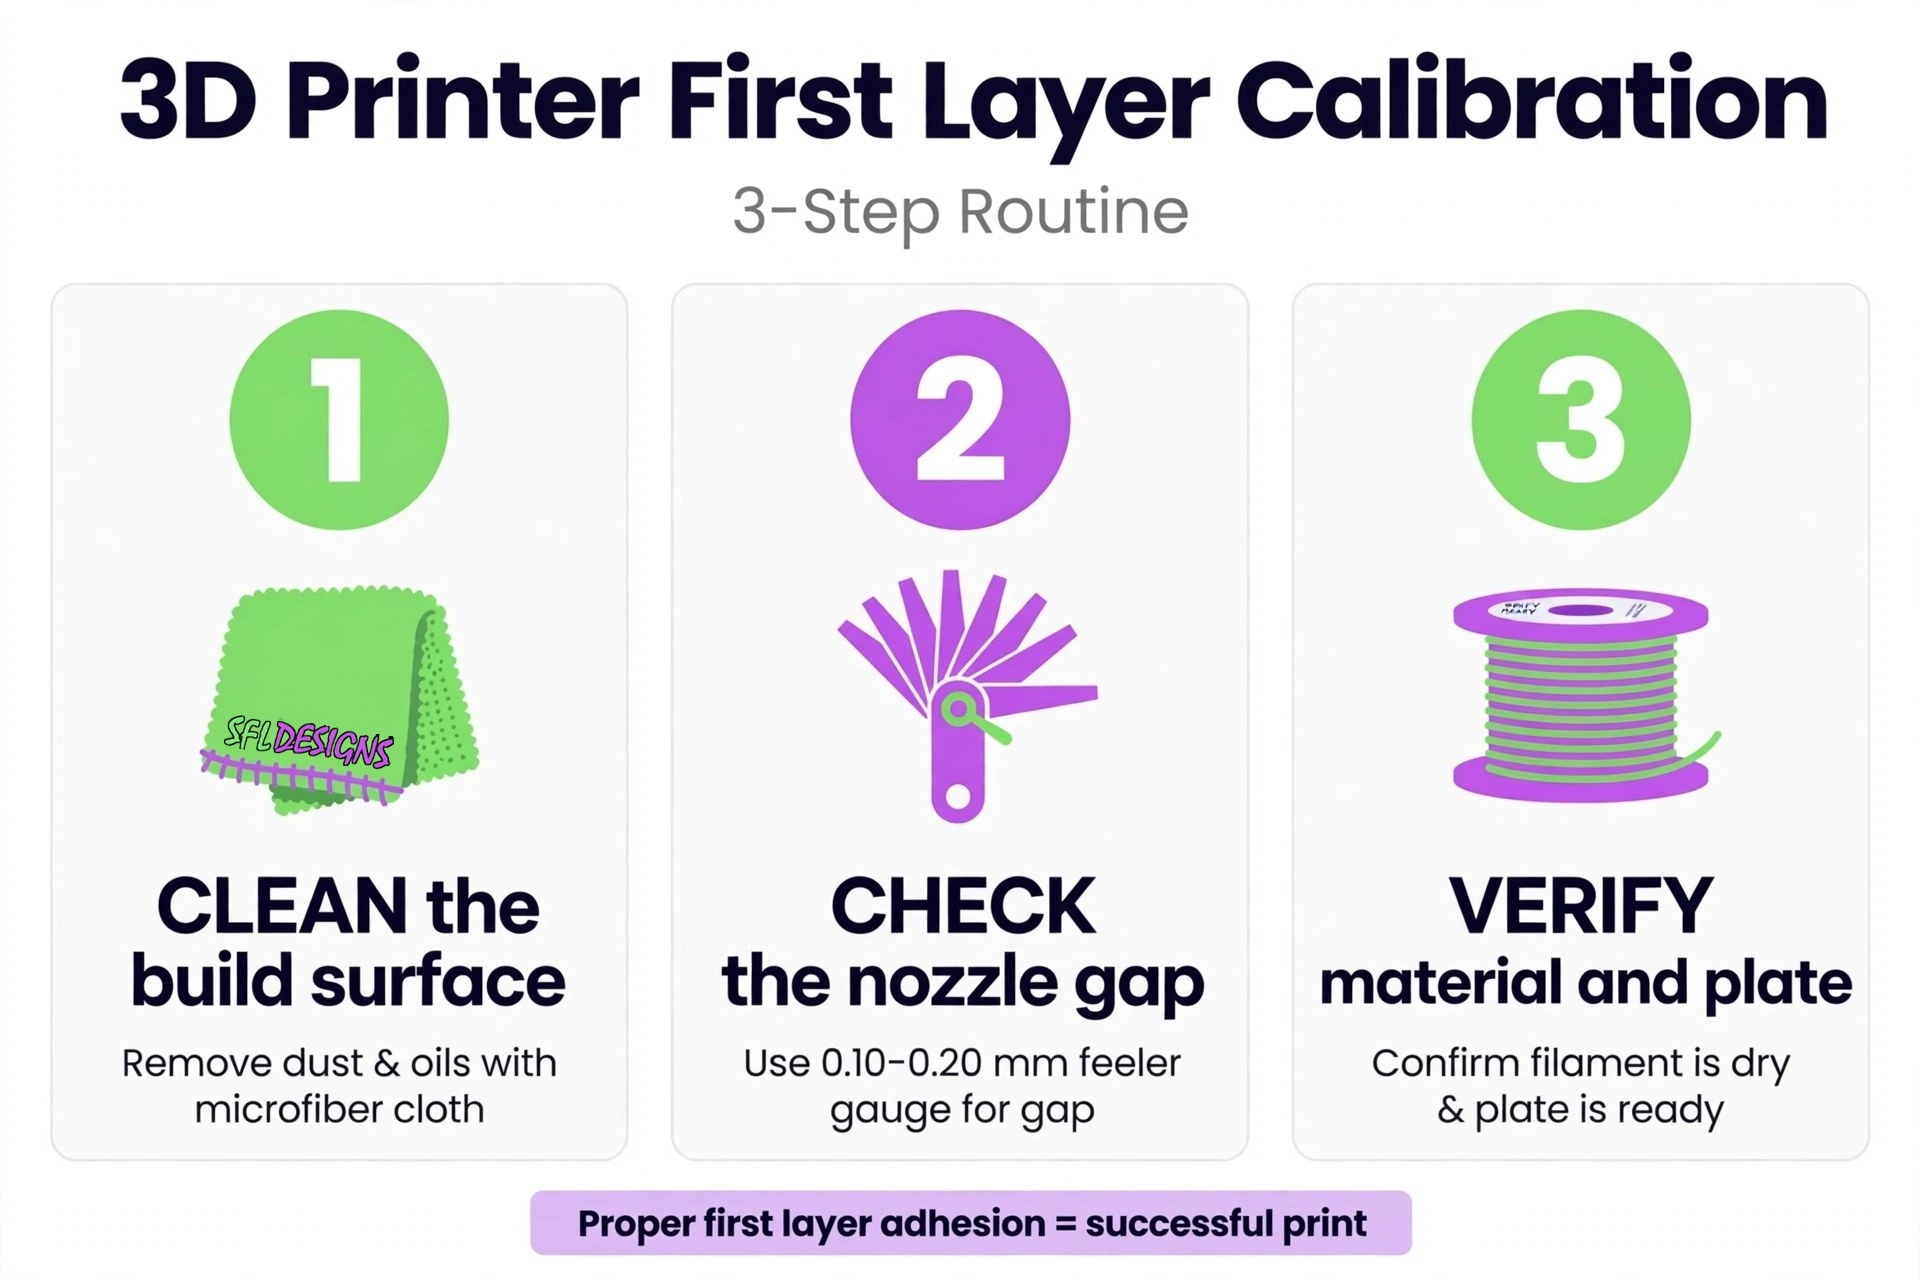
- Clean the build surface. Finger oil is invisible and surprisingly effective at wrecking adhesion. Follow the cleaning directions for your exact surface. Do not assume every sheet likes the same chemical or scrubbing method.
- Check the nozzle gap. Run your printer’s first-layer or Z-offset calibration and watch the lines. Adjust in small steps. You are looking for connected lines with a smooth top—not a number somebody posted online.
- Verify the selected material and plate. A PLA profile, a PETG profile and an ASA profile are not interchangeable. Neither are every smooth, textured and coated build surface. Make sure the printer and slicer agree with what is actually installed.
Shop note: Change one setting at a time. Not ten. If you change the gap, temperature, speed and fan together, the next print cannot tell you which change helped — and you will not know which one hurt.
Elephant foot compensation is your fine-tuning knob
Once your gap is basically right, you may notice the very bottom of a part flares out just a hair wider than the walls above it, like the print stepped in something. That’s elephant’s foot: the first layer squishes outward as the nozzle presses it into the bed.
Most slicers have a setting for exactly this. PrusaSlicer calls it elephant foot compensation; in Cura it’s the initial layer horizontal expansion. It pulls the first layer’s outline in by a tiny amount so the base ends up the same width as the rest of the part.
If your printer has automatic bed leveling, this is a great place to make your fine adjustments. The leveling system is already managing the gap—so instead of nudging the nozzle up to fight the flare and giving up adhesion to do it, leave the nozzle where it grips best and trim the flare in the slicer, a tenth of a millimeter at a time.
Do not make the slicer confess to a hardware crime
It is tempting to fix every problem with a setting because settings are easy to click. But a loose plate, dirty nozzle, damaged surface or wrong calibration will happily ignore your beautiful slicer profile.
If the layer is good on one side and wrong on the other, stop treating it like a single temperature problem. Look for a bed-mesh, tramming, plate-seating or mechanical issue. If the same defect follows one physical area of the bed, that location is giving you a clue.
If the layer starts well and then becomes inconsistent, inspect filament flow and the nozzle. You may have debris, a partial clog or a feed issue. Again: evidence first, knobs second.
Brims help—but they are not witness protection
A brim adds a flat border around the part. That extra contact area can help a tall, narrow or warp-prone print stay put.
I’ll be honest: I am not a fan of brims. Not because they don’t work — because every brim is post-processing. Trimming and cleaning that edge off every single part takes time, and when you print parts all day, that cleanup adds up fast.
A brim is also not a substitute for a clean surface and a correct first layer. If the center of the part is barely touching the bed, a wider brim just gives you a larger example of the same problem.
Fix the foundation. Then add a brim only when the geometry or material actually earns the cleanup.
The five-minute habit that saves the long print
Watch the first layer of any print you cannot afford to lose. Not the skirt. Not the opening move. Watch enough of the actual part to see the lines connect and the corners stay down.
That five minutes feels slow right up until it saves a ten-hour job.
The first layer does not need to be glamorous. It needs to be boring, even and attached. In 3D printing, boring is often another word for “working.”
— Jason, SFL Designs
From our workbench to your display — print it, mount it, light it up.